Getting Started
Steps to creating and publishing your LiteSite website:
- Access your LiteSite website editor
- Select a website template
- Add your website content
- Name your Webpage
- Save and Publish your LiteSite website
Accessing your LiteSite website editor
Log into your Webnames.ca account, and browse to:
- Account -> Manage -> LiteSite
- If you have more than one LiteSite, click on the applicable domain name
- Click on the LiteSite tab
- Click on the Open LiteSite Editor button

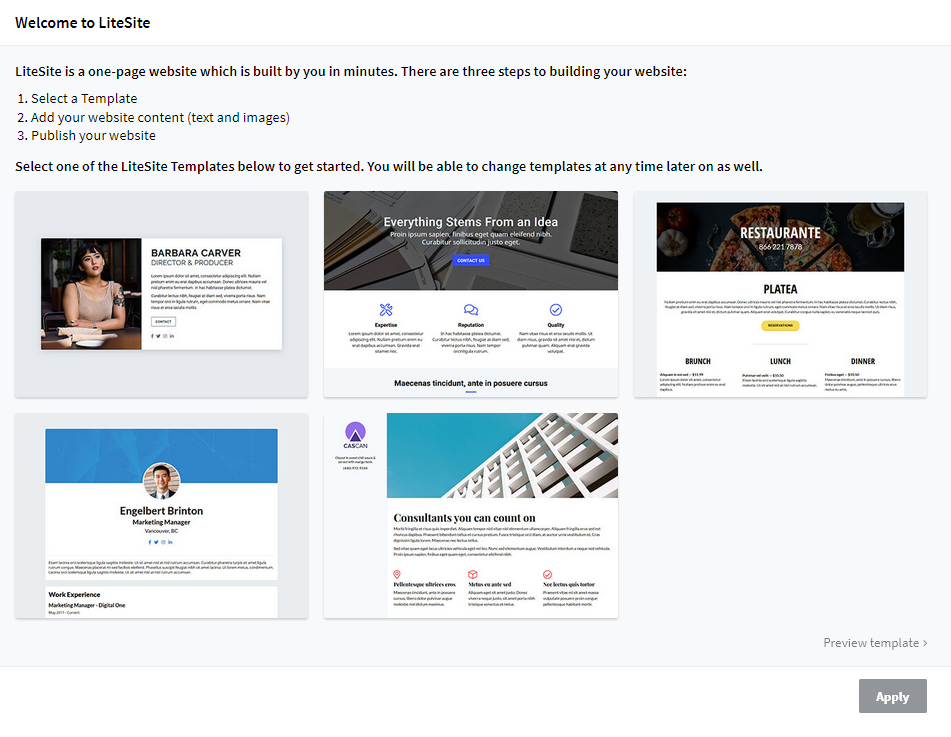
Selecting a website template
LiteSite currently offers five different layout templates for your website. Each of the templates provide a different layout and style for your website.
- Business Card
- Business I
- Restaurant
- Resume
- Business II
We recommend making your initial template selection primarily based on the look of the header (i.e. the very top portion of the template) since this is a unique component of each template. In the next step you'll be able to customize the look, feel and content of what is provided in each template.
Templates can be previewed full-screen by making a template selection and then clicking Preview template in the bottom right.
After your initial template selection, you will always be able to come back and select a different template to apply to your LiteSite website.
Add your website content
LiteSite features a WYSIWYG![]() WYSIWYG is an acronym for What You See Is What You Get. The term is used in computing to describe a system in which content (text and graphics) displayed onscreen during editing appears in a form closely corresponding to its appearance when printed or displayed as a finished product, which might be a printed document, web page, or slide presentation. (What You See IS What You Get) editor which closely represents how your finished website will appear when published.
WYSIWYG is an acronym for What You See Is What You Get. The term is used in computing to describe a system in which content (text and graphics) displayed onscreen during editing appears in a form closely corresponding to its appearance when printed or displayed as a finished product, which might be a printed document, web page, or slide presentation. (What You See IS What You Get) editor which closely represents how your finished website will appear when published.
Each template comes with pre-populated text (in Latin) which illustrates the sizing and layout within each section.
Editing Content
To edit existing content, hover and click on the Edit Content link found in the top left area of each .
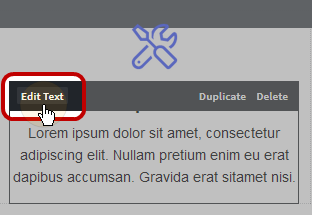
After editing, click the Apply button in the lower right.
For more information on the different Content types, please see: Content Types
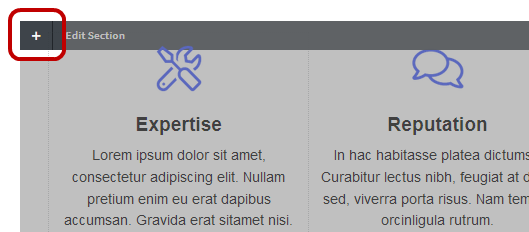
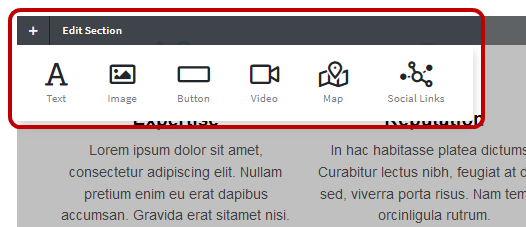
Adding Content
New content can be added by clicking the plus icon (+) in the upper left corner of the applicable section of your website
For more information on the different Content types, please see: Content Types
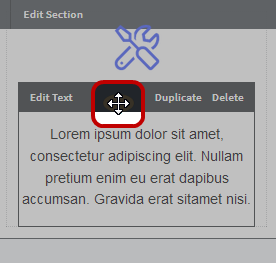
Moving Content
Existing Content can be moved to another location on the page by dragging and dropping. Sections can also be moved up and down the page in a similar manner.
Name Your Webpage
The name and description of your LiteSite webpage, will aid in it being found via search engines such as Google. These can both be set within Site Settings.
Save and Publish
Saving your LiteSite Webpage
Each change that is made to your webpage is automatically saved. LiteSite does however offer a dedicated Save function which sets a restore point which you can revert to at a later time
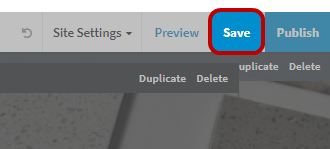
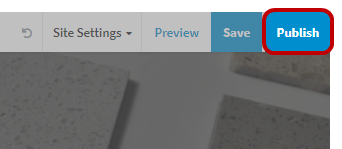
Publishing your LiteSite webpage
Your webpage is not visible publicly until you publish it via the Publish button in the top right corner of the editor