Node.js
Watch the video tutorial
To install a Node.js application on your website, you need to upload the application’s files to the server first. You can upload them via FTP or using the File Manager.
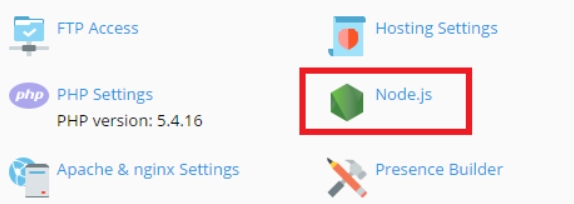
To set your application up, go to Websites & Domains and click Node.js. On this screen you can see a number of controls that will help you manage your Node.js application:
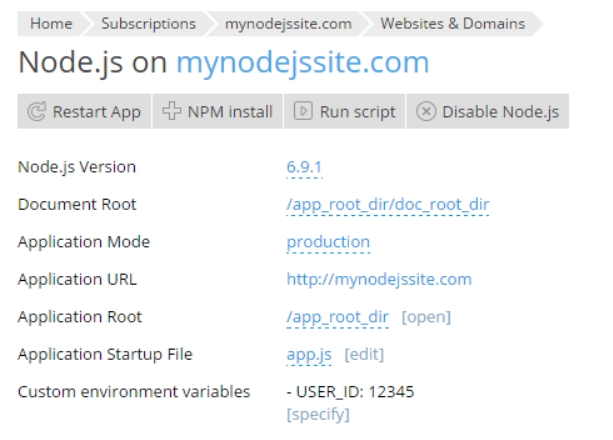
Node.js Version. This control displays the currently selected version of the runtime environment that will be used to run your application. Click the version number to select a different Node.js version.
Document Root. Here you can set the domain’s document root directory, which must be a subdirectory of the application root directory, specified below.
Application Mode. You can select between “Development” and “Production” modes, or type a custom mode name. The NODE_ENV environment variable will reflect your choice.
Application URL![]() In computing, a uniform resource locator (URL) (originally called universal resource locator) is a specific character string that constitutes a reference to an Internet resource.
Both www.webnames.ca and www.webnames.ca/domain are examples of a URL. Click this automatically generated URL to open the application in your browser.
In computing, a uniform resource locator (URL) (originally called universal resource locator) is a specific character string that constitutes a reference to an Internet resource.
Both www.webnames.ca and www.webnames.ca/domain are examples of a URL. Click this automatically generated URL to open the application in your browser.
Application Root. By default, the application root is the domain’s root directory. Click “[open]” to browse the contents of the application root directory using the File Manager. Additionally, in Plesk![]() Plesk Panel is the preferred choice for hosting service providers, web designers, and website owners. Plesk Obsidian 18 is the latest release from Plesk and offers a range of new benefits and features for every user type. for Linux, you can click the currently set application root path to set a custom application root.
Plesk Panel is the preferred choice for hosting service providers, web designers, and website owners. Plesk Obsidian 18 is the latest release from Plesk and offers a range of new benefits and features for every user type. for Linux, you can click the currently set application root path to set a custom application root.
Application Startup File. By default, the startup file name is presumed to be app.js. Click it to type a custom startup file name.
Custom environment variables. Here you can see a list of custom environment variables you have set for your application (if any). Click “[specify]” to add or remove environment variables for your application:
- Click Add variable to add another environment variable to the list. Type in the variable name in the left field, and its desired value in the right.
- Edit the variables already on the list by clicking the corresponding field and typing in the new variable name or value.
- Click Remove next to a variable to remove it from the list.
Click OK when finished.
If the application root directory contains the package.json configuration file, two additional controls become available:
- NPM install. Installs the package(s) described in the package.json file.
- Run script. Runs a command specified in the “Scripts” section of the
package.jsonfile. Specify the name of the script to run plus any parameters, then click OK.
If your application files include the package.json Gruntfile.js, gulpfile.js, or webpack.config.js configuration files, they will be listed in the “Access to Configuration Files” section on the right. Click the name of a configuration file to open it for editing.

If, at a later date, you should need to disable Node.js, go to Websites & Domains, click Node.js, and then click Disable Node.js. Disabling Node.js does not affect your settings, and you can reactivate your application at any time.
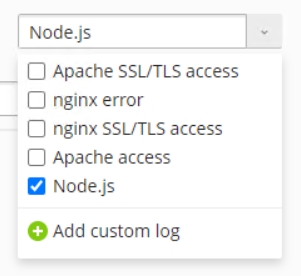
Viewing logs of Node.js applications
You can view logs of Node.js applications in Log Browser. To do so, go to Websites and Domains > domain with an installed Node.js application whose log you want to view > Logs.