Installation
- CSR Generation
- Configuration
- Validation
- Issuance
- Installation
- Site Seal Installation
Steps for installation on different platforms can be found below:
Webnames Hosting
3rd Party Webservers
Webnames Hosting
Uploading your SSL certificate
Your SSL![]() SSL is an acronym for Secure Sockets Layer. It is used for securely transmitting data via the Internet. SSL uses a cryptographic system that uses two keys to encrypt data − a public key known to everyone and a private or secret key known only to the recipient of the message. Many websites, including those that utilize ecommerce or facilitate banking transactions use the protocol to transmit confidential user information, such as credit card numbers.
By convention, URLs that require an SSL connection start with https: instead of http: Certificate will be installed into your Hosting Control Panel in the same area as where your CSR was generated in Step One.
SSL is an acronym for Secure Sockets Layer. It is used for securely transmitting data via the Internet. SSL uses a cryptographic system that uses two keys to encrypt data − a public key known to everyone and a private or secret key known only to the recipient of the message. Many websites, including those that utilize ecommerce or facilitate banking transactions use the protocol to transmit confidential user information, such as credit card numbers.
By convention, URLs that require an SSL connection start with https: instead of http: Certificate will be installed into your Hosting Control Panel in the same area as where your CSR was generated in Step One.
- Access your website's Hosting Control Panel
You can access information regarding your Hosting Package by browsing to the following, once logged into your Webnames.ca account:
- My Account > Manage > Web Hosting menu
- Click on your domain name
- Once inside the Hosting Control Panel, locate the related domain name on the Website & Domains tab, and click SSL/TLS
 TLS is short for Transport Layer Security. The TLS protocol is designed to one day supersede the SSL protocol, however at present few organizations use it instead of SSL. Certificates (click the Show More option if necessary)
 - Click on the name of your certificate

- Use either the Upload the certificate files option to upload your certificate files or Upload the certificate as text option to paste your certificate information. Be sure to include both the Certificate as well as CA Certificate as supplied to you. Your website cannot be secured without both pieces of data
NOTE: When pasting your SSL certificate and CA Certificate information from your email and into the Hosting Control Panel, include both the -----BEGIN CERTIFICATE----- and -----END CERTIFICATE----- text.
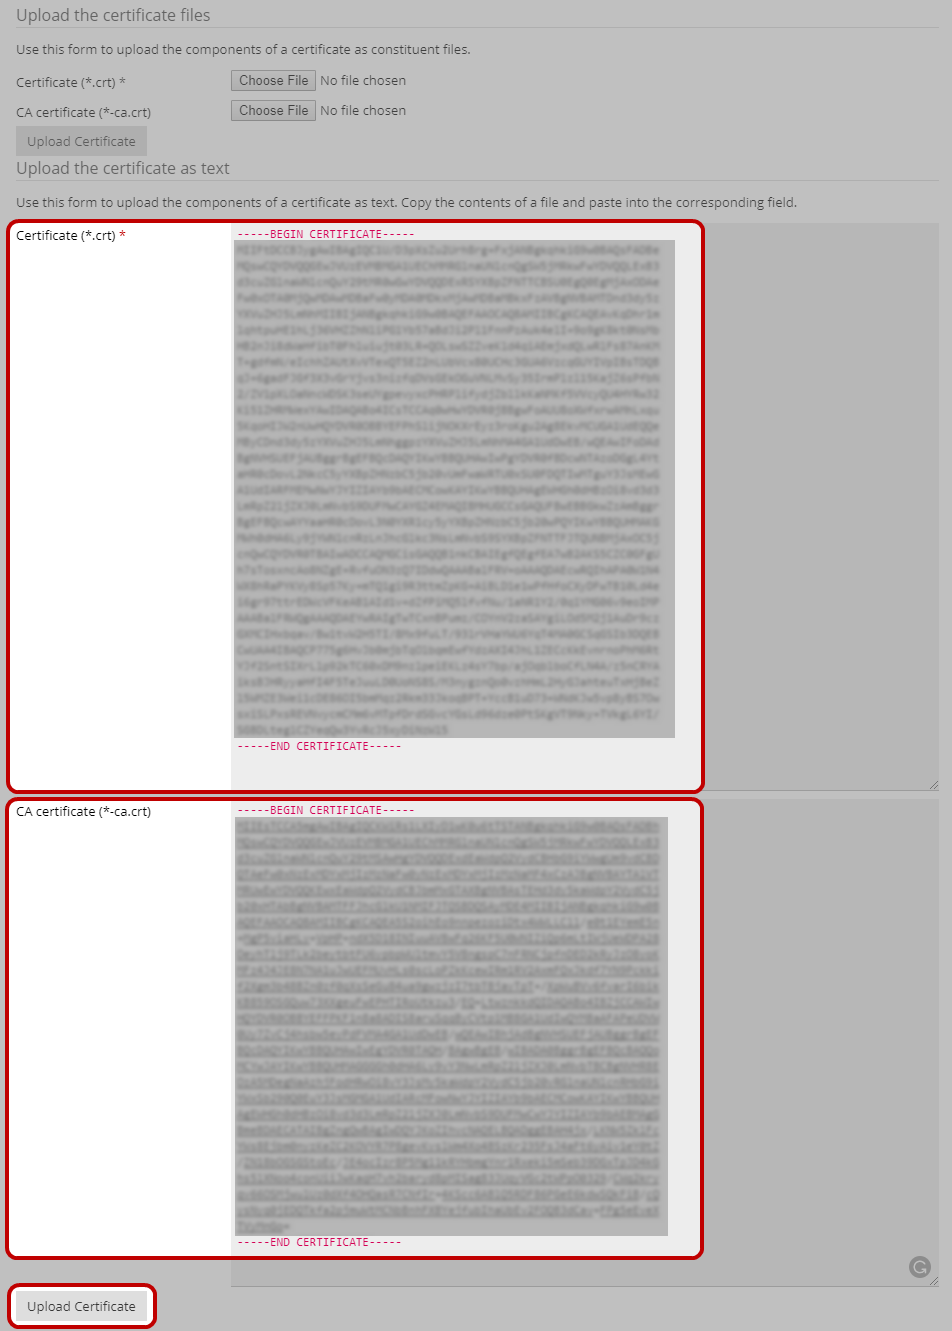
- Click the applicable Upload Certificate button to submit your data
Associate your SSL certificate with your website content
- To associate your certificate to the content of your website, return to the Websites & Domains tab, and click Web Hosting Settings.
- From the SSL certificate menu, select your new SSL certificate from the list and click OK.
- Please wait for up to 10 minutes for your changes to take effect.
Installation of your SSL Certificate is complete, and your website is now secured via SSL!
See also: Site Seal Installation
I3rd Party servers
Your SSL Certificate![]() SSL Certificates are created for a particular server and domain, and are issued by trusted, third-party Certificate Authority (CA) - comparable to your passport. As the Certification Authority, the SSL Certificate vendor authenticates the identity of the purchaser and verifies the business that owns the domain. needs to be installed onto the physical server which hosts your website. If you have direct access to this server, then you can install the Certificate yourself via instructions found at the applicable link below. If you utilize another Vendor for your hosting services, you will need to contact them for assistance with installing your SSL Certificate. The process in this case will vary from one Vendor to another.
SSL Certificates are created for a particular server and domain, and are issued by trusted, third-party Certificate Authority (CA) - comparable to your passport. As the Certification Authority, the SSL Certificate vendor authenticates the identity of the purchaser and verifies the business that owns the domain. needs to be installed onto the physical server which hosts your website. If you have direct access to this server, then you can install the Certificate yourself via instructions found at the applicable link below. If you utilize another Vendor for your hosting services, you will need to contact them for assistance with installing your SSL Certificate. The process in this case will vary from one Vendor to another.
Digicert, Thawte GeoTrust, Rapid SSL Certificates: https://www.digicert.com/kb/ssl-certificate-installation.htm
Sectigo SSL Certificates: https://sectigo.com/knowledge-base/product/Certificate_Installation