WordPress Update Username Process
Unfortunately usernames cannot be changed, however a new one can be created and then the old one deleted. The steps to do so are as follows:
- Create new user
- Delete old user
- Reattribute posts and links
|
NOTE: Performing a complete site backup of your hosting is recommended before proceeding. If an error of any kind is encountered, such a backup will allow your to restore your site to its previous state. |
Create a new user
- Log into your WordPress Control Panel (www.yourdomainname.ca/wp-admin)
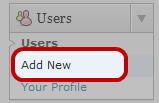
- In the Admin Panel menu , go to Users -> Add New
- Type in the information for the new user account.
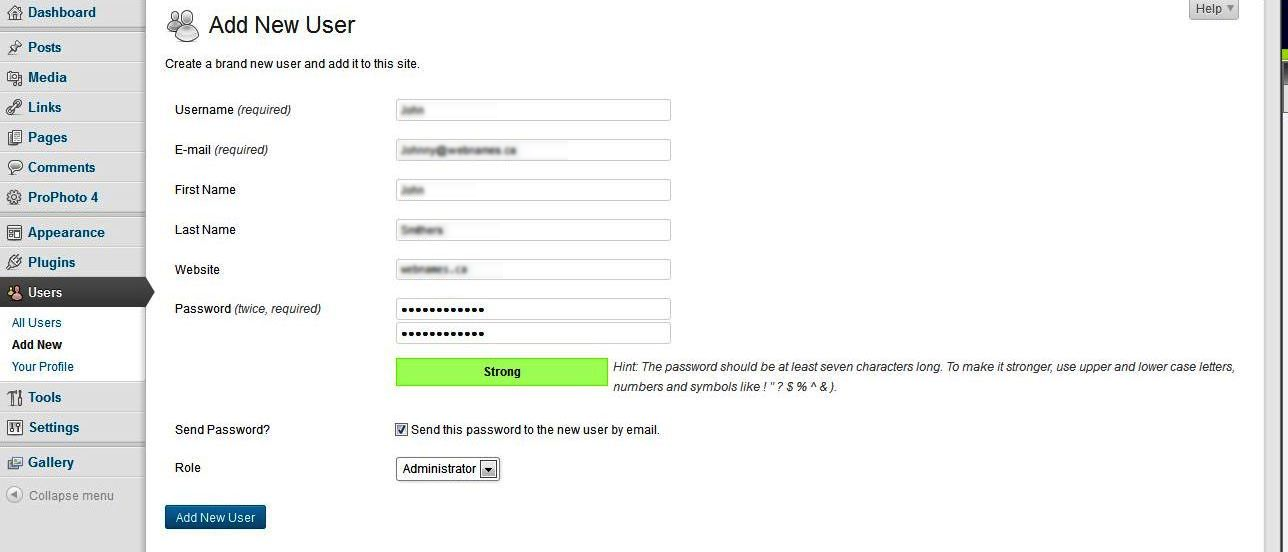
- You need to use (at least temporarily) a new email address than what you had primarily setup for your “admin” username.
- Choose a new and unique (but personally memorable) user name that is not similar to the name you display publicly on your blog.
- Choose a complicated password that would be hard to break, Example; using a combination of uppercase and lowercase letters, numbers, and symbols.
- Select Administrator as the role.
- Click the Add User button
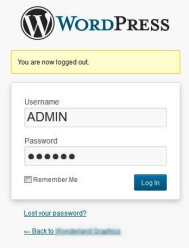
- Logout of WordPress.
Delete Old User
- Log in to your WordPress again, using your new username.
- Click on All Users in the “Users” menu.
- Place a check mark beside the username 'admin', and choose Delete from the Bulk Actions drop-down.
- Click Apply
Reattribute Post and Links
- It is important to reattribute authorship of articles created by the user 'admin':
- Select Attribute all posts and links to and then select your new username from the drop-down list.
- Click on the Confirm Deletion button.