Installing WordPress
WordPress can be installed onto our systems in a few easy steps.
| NOTE: In addition to the process outlined below, a traditional install of WordPress can also be performed using the steps outlined on the WordPress.org website |
To install WordPress
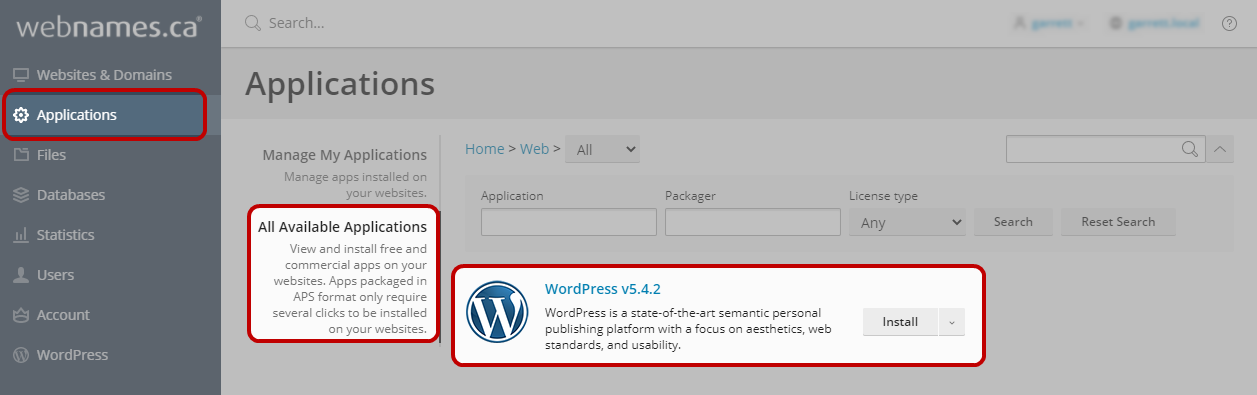
- Go to the Applications tab of the Hosting Control Panel. Click the Web category of applications.
- Scroll down through the application list to WordPress, and then click Install.
- WordPress will be installed automatically. Please allow several minutes for the installation to complete.
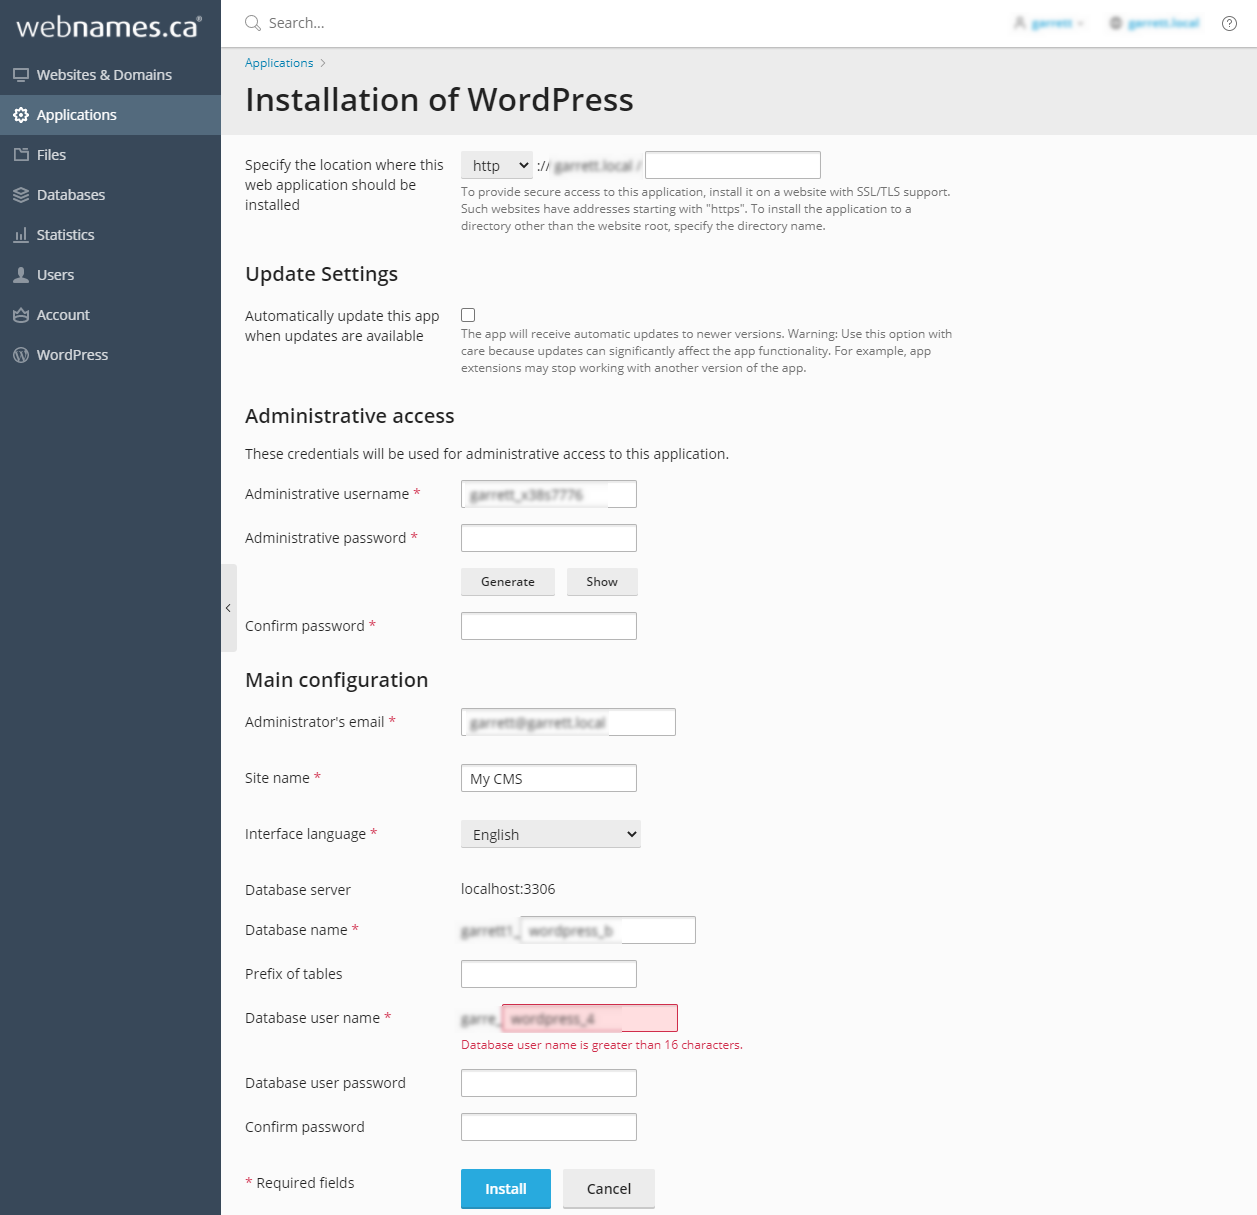
- The installation will utilize a default set of values for username and passwords etc. These can be changed either via Change Settings or also via the traditional WordPress Dashboard / Administrative Interface
| Note: If necessary, the version of WordPress which is installed can be updated easily via the WordPress Admin page, once the initial installation is complete. |
While the installation is now complete, your content (WordPress or otherwise) cannot be accessed via your domain name until your Hosting Package is Activated
See also: Activating your Hosting Package
Once your Hosting Package has been activated (and DNS![]() The Domain Name System (DNS) is a hierarchical distributed naming system for computers, services, or any resource connected to the Internet or a private network. It associates various information with domain names assigned to each of the participating entities. A Domain Name Service resolves queries for these names into IP addresses for the purpose of locating computer services and devices worldwide. By providing a worldwide, distributed keyword-based redirection service, the Domain Name System is an essential component of the functionality of the Internet. propagation has occurred), your WordPress installation will be available at the location in which it was installed (e.., http://yourdomain.ca) and the WordPress Dashboard will be available at http://yourdomain.ca/wp-admin
The Domain Name System (DNS) is a hierarchical distributed naming system for computers, services, or any resource connected to the Internet or a private network. It associates various information with domain names assigned to each of the participating entities. A Domain Name Service resolves queries for these names into IP addresses for the purpose of locating computer services and devices worldwide. By providing a worldwide, distributed keyword-based redirection service, the Domain Name System is an essential component of the functionality of the Internet. propagation has occurred), your WordPress installation will be available at the location in which it was installed (e.., http://yourdomain.ca) and the WordPress Dashboard will be available at http://yourdomain.ca/wp-admin