Composing and Sending Email
To compose an email
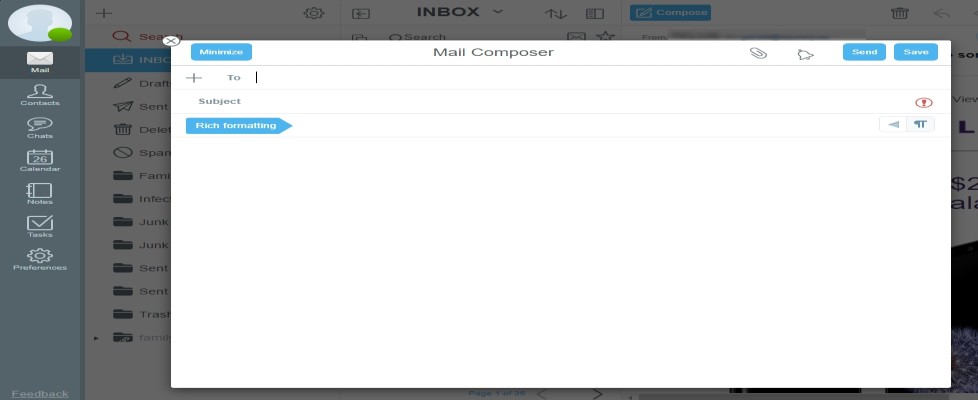
- Click Compose at the top of the right pane.
The Mail Composer window will open.
To compose an mail:
- Specify the sender (“From”)
- Specify one or more recipients (“To”)
- Enter a subject
- Write the email text
- Click Send to send the email.
Sender (From):
In the From field, your default identity will already be selected which will be okay for most instances. If you want to use a different identity click on the arrow on the right to select it.
Recipient (To):
Specify one or more addressees you wish the mail to be sent to.
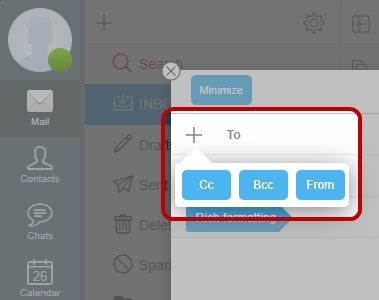
You can select the recipient addresses from your address book by clicking the + icon on the right. Clicking on a contact in the list copies the address to the To field.
Clicking into the mail composer window closes the address list. For a quicker approach you can just start typing the address or the name of the recipient in the To field. A list of matching addresses from the address book will be displayed from which you can select the desired address by clicking it.
If the address is not listed in the address book you can just type it into the To field. Such an address will be marked in red color.
To have a recipient receive your email as CC or BCC click the + button and choose Cc or Bcc. A new address field will open where you can enter the recipient address(es).
If you want to remove a recipient from your email click on the x right next to the name.
Subject
Enter a subject in the Subject field.
Email Text
Enter the email text in the text field.
To apply rich formatting to your text or add images you can use the tools from the toolbar located below the Subject field.
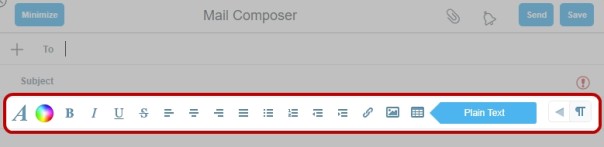
Choose from the formatting tools by selecting text and clicking the appropriate icon (left to right):
- Formatting style (normal, heading, etc.)
- Font color
- Bold
- Italics
- Underline
- Strikethrough / deleted
- Align left
- Center text
- Align right
- Justify text
- Unordered list – bullet points
- Ordered list -‐ numbered
- Outdent paragraph
- Indent paragraph
- Insert link
- Insert image
- Insert / format table
To hide the toolbar click Plain Text. To unhide it click Rich Formatting.
| NOTE: To hide the toolbar by default set Use HTML compose to OFF under Preferences/ Mail. |
Attaching files
You can send files as attachments. To attach a file to your email
Drag the file into the Mail Composer window and drop it there.
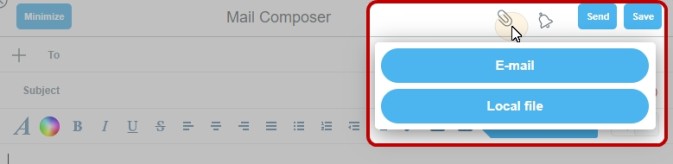
Alternatively click the Attach file button (paperclip icon) at the top of the compose window, select the file from your computer and confirm by clicking Open.
All currently attached files will be shown below the Subject field. To remove an attached file click the x icon next to the file name.
| NOTE: The total size of emails including attachments is limited to 25 MB ** ** Total message size (body + attachment) cannot exceed 25MB after MIME encoding. MIME encoding is done by the mail client and typically adds 30% overhead. The functional attachment size limit is therefore approximately 20MB |
Sending Email
Once you are done composing your email send it by clicking the Send button. The email will be sent and a copy of it will be placed in the Sent Items folder.
To change this folder in Preferences / Mail edit the Save Sent Messages in setting.
Other Features
Webmail offers some helpful functions for composing and editing emails.
Auto save
An email that is being composed will be saved automatically every 5 minutes by default. A message box will appear on your desktop every time the save action is performed.
You can save the email at any time yourself by clicking the Save button. When you do this your email will be saved in the Drafts folder until you send it or delete it.
You can specify a different folder for saving drafts in Preferences / Mail / Store Drafts in.
Cancel email
In order to cancel the email you are currently composing
Click the x icon in the upper left corner of the Mail Composer window.
A message will appear asking whether you want to Save the message (in the drafts folder) or if it should be Discarded (permanently deleted).
Click Discard to delete the email and close the composer window.
Working with Drafts
If you have previously saved an email without sending it you will find it in the Drafts folder from where you can continue editing it. Simply select the email in the middle pane and then click the Edit Draft button.
The email will be opened in the Mail Composer window where you can edit and send it in the usual way.
Hide Composer window
In some cases it may be necessary to interrupt editing an e-‐mail, e.g. because you need to read another e-‐mail or for accessing a mail folder.
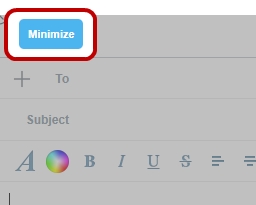
To do this, click the Minimize button.
The Composer window will be minimized to the bottom edge of the screen
Open the Composer again any time by clicking the minimized email located at the bottom edge of the screen.

Options for sending Email
The Mail Composer window contains several advanced features you can use for email communications.
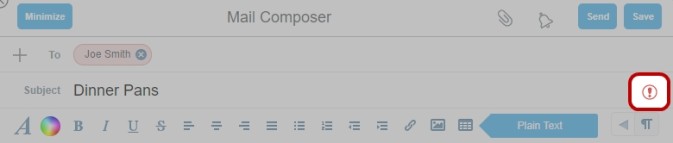
Signaling High Priority
You can let your recipient(s) know that your email is very important.
- Click the exclamation mark icon which is located next to the Subject field. The icon will turn red.
- To switch off priority signaling click the icon again
Requesting a notification from recipients
You can request a notification from the recipient(s) when they have received your email and/or when they have read it.
- Click Notify (bell icon) and select the notification option(s):
- Notify when Delivered (email was received)
- Notify when Read (email was opened by recipient)
