Outlook Express
This guide provides instructions for configuring Outlook Express to access your Webnames.ca hosted email account via IMAP![]() Internet Message Access Protocol: IMAP connectivity results in your email client downloading email from our mail server to your computer, however a copy of the email is retained on our mail server until such time that you delete the email from your computer. using SSL
Internet Message Access Protocol: IMAP connectivity results in your email client downloading email from our mail server to your computer, however a copy of the email is retained on our mail server until such time that you delete the email from your computer. using SSL![]() By utilizing SSL, the email session between your email client and our email server will be encrypted. The use of Secure Mail is recommended for all customers who access the Internet over a open shared network such as a public wireless hot-spot, or via a cellular provider's mobile network.. The guide assumes that email services have been purchased, and that email addresses have been created in the email administration interface. http://mailadmin.webnames.ca Use postmaster@ account credentials to access.
By utilizing SSL, the email session between your email client and our email server will be encrypted. The use of Secure Mail is recommended for all customers who access the Internet over a open shared network such as a public wireless hot-spot, or via a cellular provider's mobile network.. The guide assumes that email services have been purchased, and that email addresses have been created in the email administration interface. http://mailadmin.webnames.ca Use postmaster@ account credentials to access.
To setup your Outlook Express 6 email client to work with your e-mail accounts please follow the steps below:
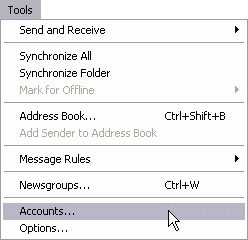
- Start Outlook Express and select "Accounts..." from the Tools menu.
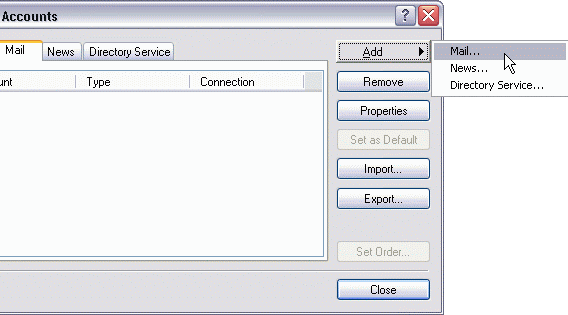
- Click the "Add" button in the top right hand corner of the window and click on the "Mail..." option from the menu that drops down.
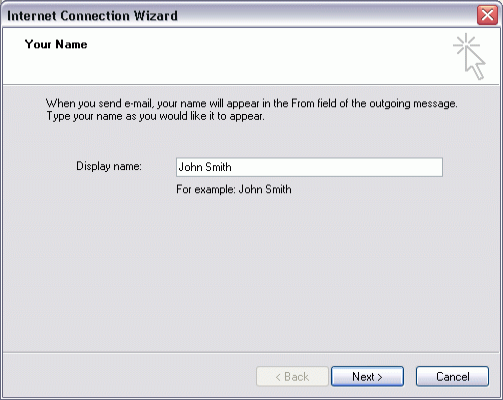
- Enter your name and click the "Next >" button.
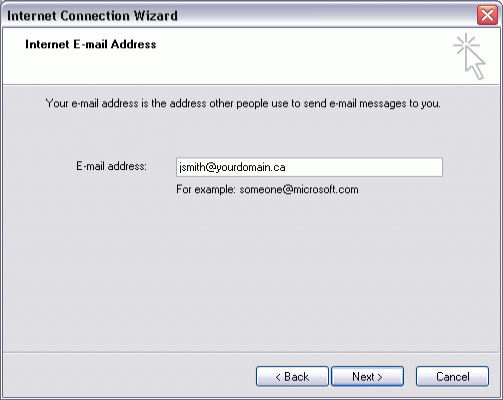
- Enter your e-mail address as in the following screen, substituting your domain name where it says "yourdomain.ca" and your e-mail account name where it says "jsmith". Click on the "Next >" button.
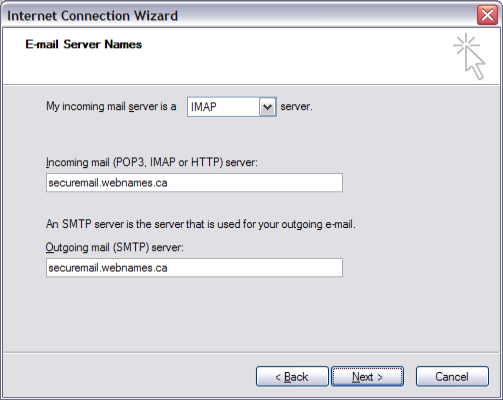
- Enter your details as in the following screenshot:
- Incoming Mail Server Type: IMAP
- Incoming mail server (IMAP): securemail.webnames.ca
- Outgoing mail server (SMTP): securemail.webnames.ca
- Click on the "Next" button.
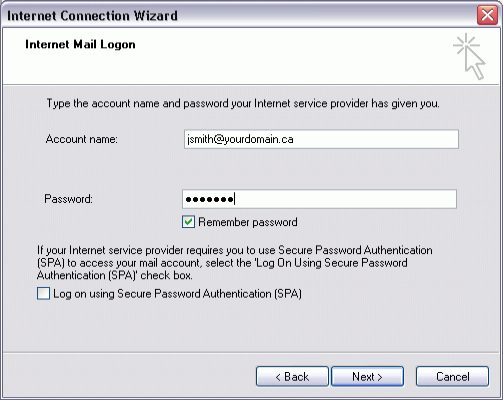
- Enter your details as in the following screenshot, substituting your domain name anywhere it says "yourdomain.ca" and your e-mail account name anywhere it says "jsmith"
- Account Name: Full Email Address
- Password: Your Password
- Click on the "Next" button.
- Click the "Finish" button.
- You should be returned to the following screen with your mail account in the list of mail accounts.
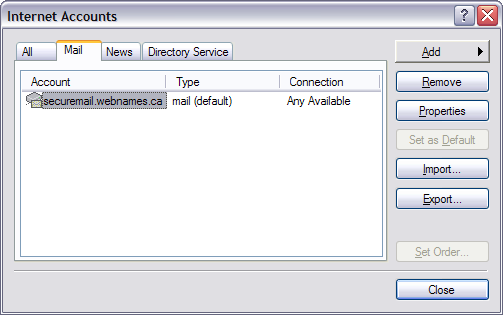
- Select securemail.webnames.ca and click on the "Properties" button.
- Then click on the "Servers" tab and under "Outgoing Mail server" check the "My server requires authentication" checkbox.
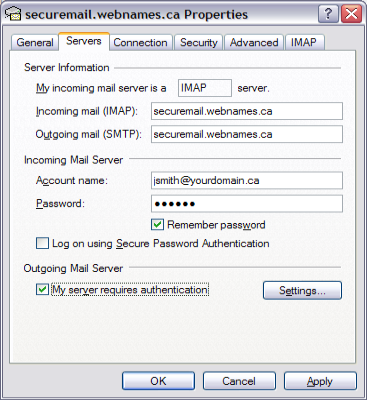
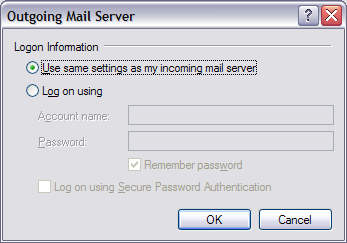
- Then click on the "Settings" button and select "Use same settings as my incoming mail server" and click on the "OK" button.
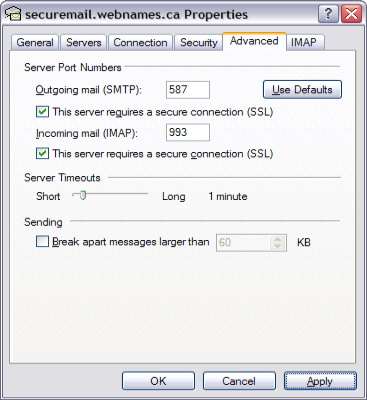
- On the Advanced tab, update the following settings:
- This server requires an encrypted connection (SSL):Enabled
- Incoming server (IMAP): 993
- This server requires an encrypted connection (SSL): Enabled
- Outgoing server (SMTP):587 (Optionally, port 465)
- When you’ve made the changes listed above, click the OK button.
- You should be returned to the following screen with your mail account in the list of mail accounts. Close this screen by clicking on the "Close" button.
- Setup is now complete.